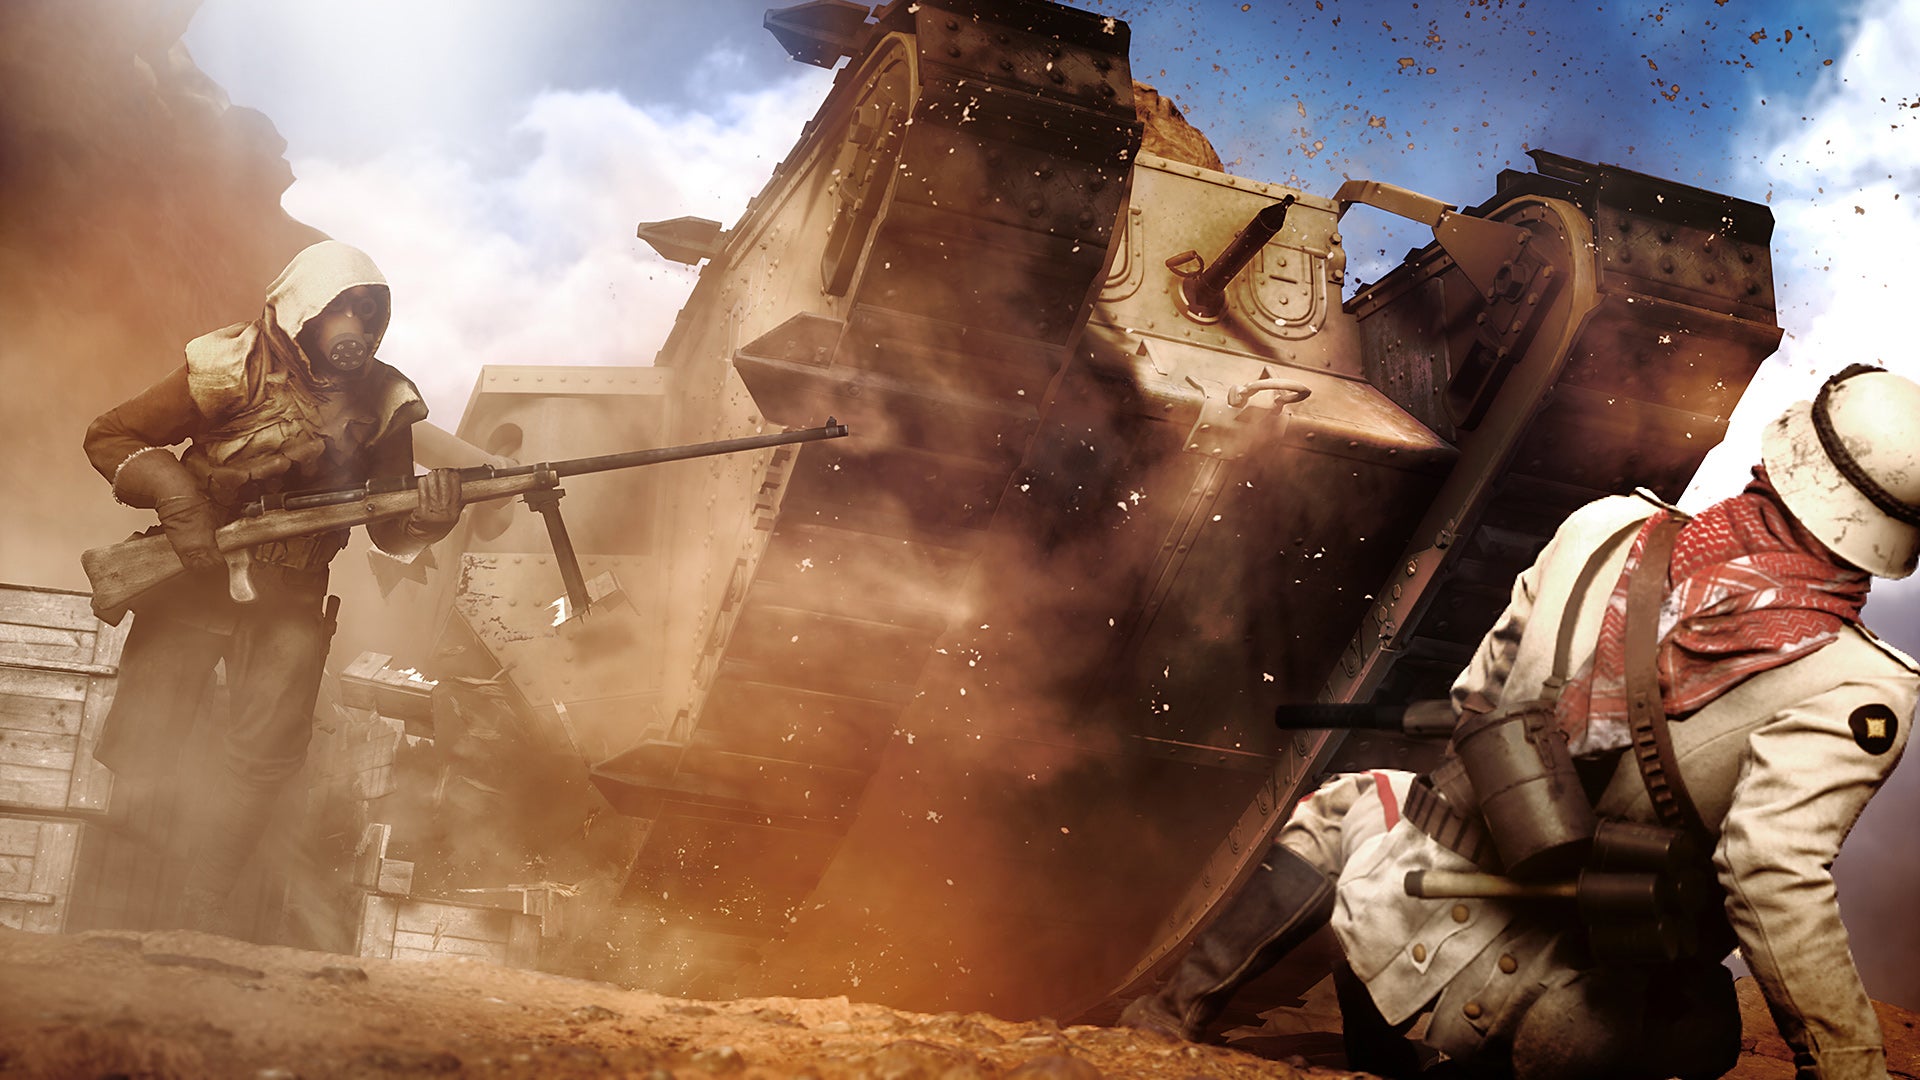
With nine traditionally sprawling maps available from launch, alongside an all-new Operations mode which composes them into something of a thematic, roughly historical and almost story-driven series of games, Battlefield 1’s maps take one of their most prominent roles to date. Here, we’ll be taking you through everything you need to know about each map, including vehicles, terrain features, and some of our own tips for mastering them in multiplayer. Here’s how each of Battlefield 1’s maps line up: Monte Grappa
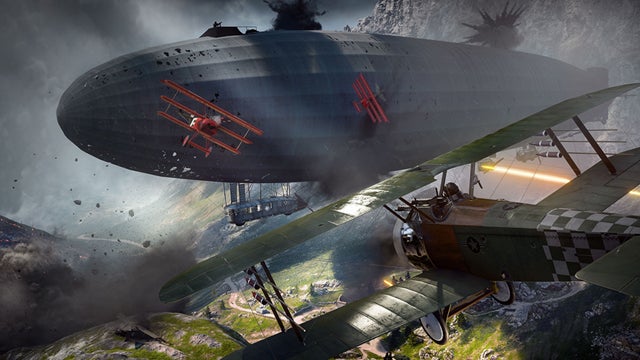
Location: Italian mountains Game Modes: Conquest, Rush, Domination, TDM, War Pigeons and Operations Players: Up to 64 Vehicles: All tanks; Cavalry; Aircraft Behemoth: Airship L30 Elite Classes: Sentry (others TBC) Description: Large mountainside, with one steep hill down one side, along the entire length of the map. Lots of rocky cover, trenches, farmhouses and bunkers for cover. Short tunnel and bunker system through the hill in the centre, along the one main road. Large bunker-fortress at one end with trenches in front. Highly powerful sentry turrets at fixed locations in the mountainside.
Monte Grappa map tips:
One side of the map is perfect for snipers - Away from the hustle and bustle of the main hillside, the other side of the map (to the top, as you look at the map) is perfect for snipers, as the darker rock face makes excellent camouflage, and there’s no inentive for other players to wander over there and stumble over you. You’re incredibly vulnerable when storming the hill - Although it’s brilliant fun to charge headfirst up the main hill into battle, you’ll find yourself extremely exposed when doing so. Stick to the rock formations and trenches where possible, and use your bayonet charge when not.
Argonne Forest
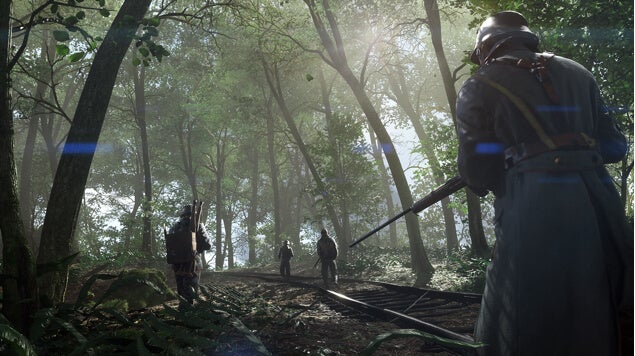
Location: German-held forest Game Modes: Conquest, Rush, Domination, TDM, War Pigeons and Operations Players: Up to 64 Vehicles: None Behemoth: Armored Train Elite Classes: Flame Trooper Description: Dense woodland broken up by inaccessible hills and chokepoints. Bunkers and trenches towards the centre, with two train tracks, one heading over a hard-fought bridge where the Armoured Train arrives. Infantry emphesis with more of a traditional lane system, with points for flanking, than some of the larger more open maps.
Argonne Forest map tips:
Use the choke points well when defending - There are a couple of major choke points on this map (one on the railway bridge, the other a narrow pathway through the rocks towards the trenches, nearby). When defending, look to set up with a Support and either guard them with an LMG, or cover the far side, where enemies are likely to que up, with a Mortar. Avoid the choke points when attacking - Obviously enough, you’ll want to avoid those suicidal routes when attacking. Argonne Forest has some fantastic routes for flanking, which will leave you more exposed, but also at a significant advantage if you can make it round the back of your enemy’s defenses.
Empire’s Edge
Location: Italian coastline Game Modes: Conquest, Rush, Domination, TDM, War Pigeons and Operations Players: Up to 64 Vehicles: All tanks; Cavalry; Aircraft; Boats Behemoth: Dreadnought Elite Classes: TBC Description: Two fortresses in one corner of the map, with hilly, fairly open farmland in the rest of it. Some farmhouses and rock formations make for cover.
Empire’s Edge map tips:
The fortresses are perfect for flanking - It’ll take time to get there, but it’s possible to sneak all the way around the edge of the map to the most external, isolated fortress with it’s own flag to capture. If you can get there, or spawn on a craft squadmate who’s already made it, this is an excellent place to then quickly mount a surprise offensive on the larger fortress and leave your enemy now pinsired in the more exposed grassland between your two zones of control.
Ballroom Blitz
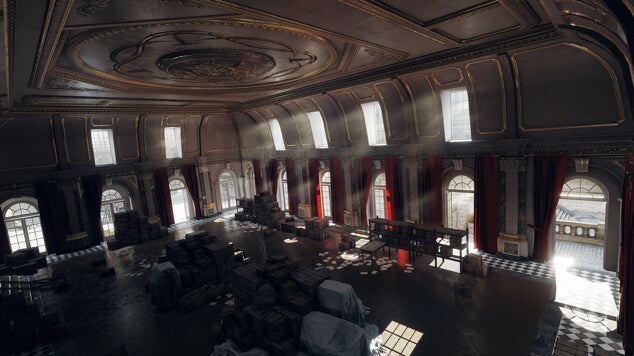
Location: German-held town Game Modes: Conquest, Rush, Domination, TDM, War Pigeons and Operations Players: Up to 64 Vehicles: All tanks; Cavalry; Aircraft Behemoth: Airship L30 Elite Classes: TBC Description: A large, central building complex is surrounded by a courtyard with it’s own fortress-style walls, and plays as the focal point of this map. Relatively open grassland and roads surround it.
Ballroom Blitz map tips:
The main building’s courtyard walls are perfect for marksmen - Scout and Medic classes with access to accurate rifles can have a field day along these battlements, picking off anyone trying to enter or exit the main Ballroom building. You’re vulnurable from either side though, so best to have an entire squad there to cover all angles.
St. Quentin Scar
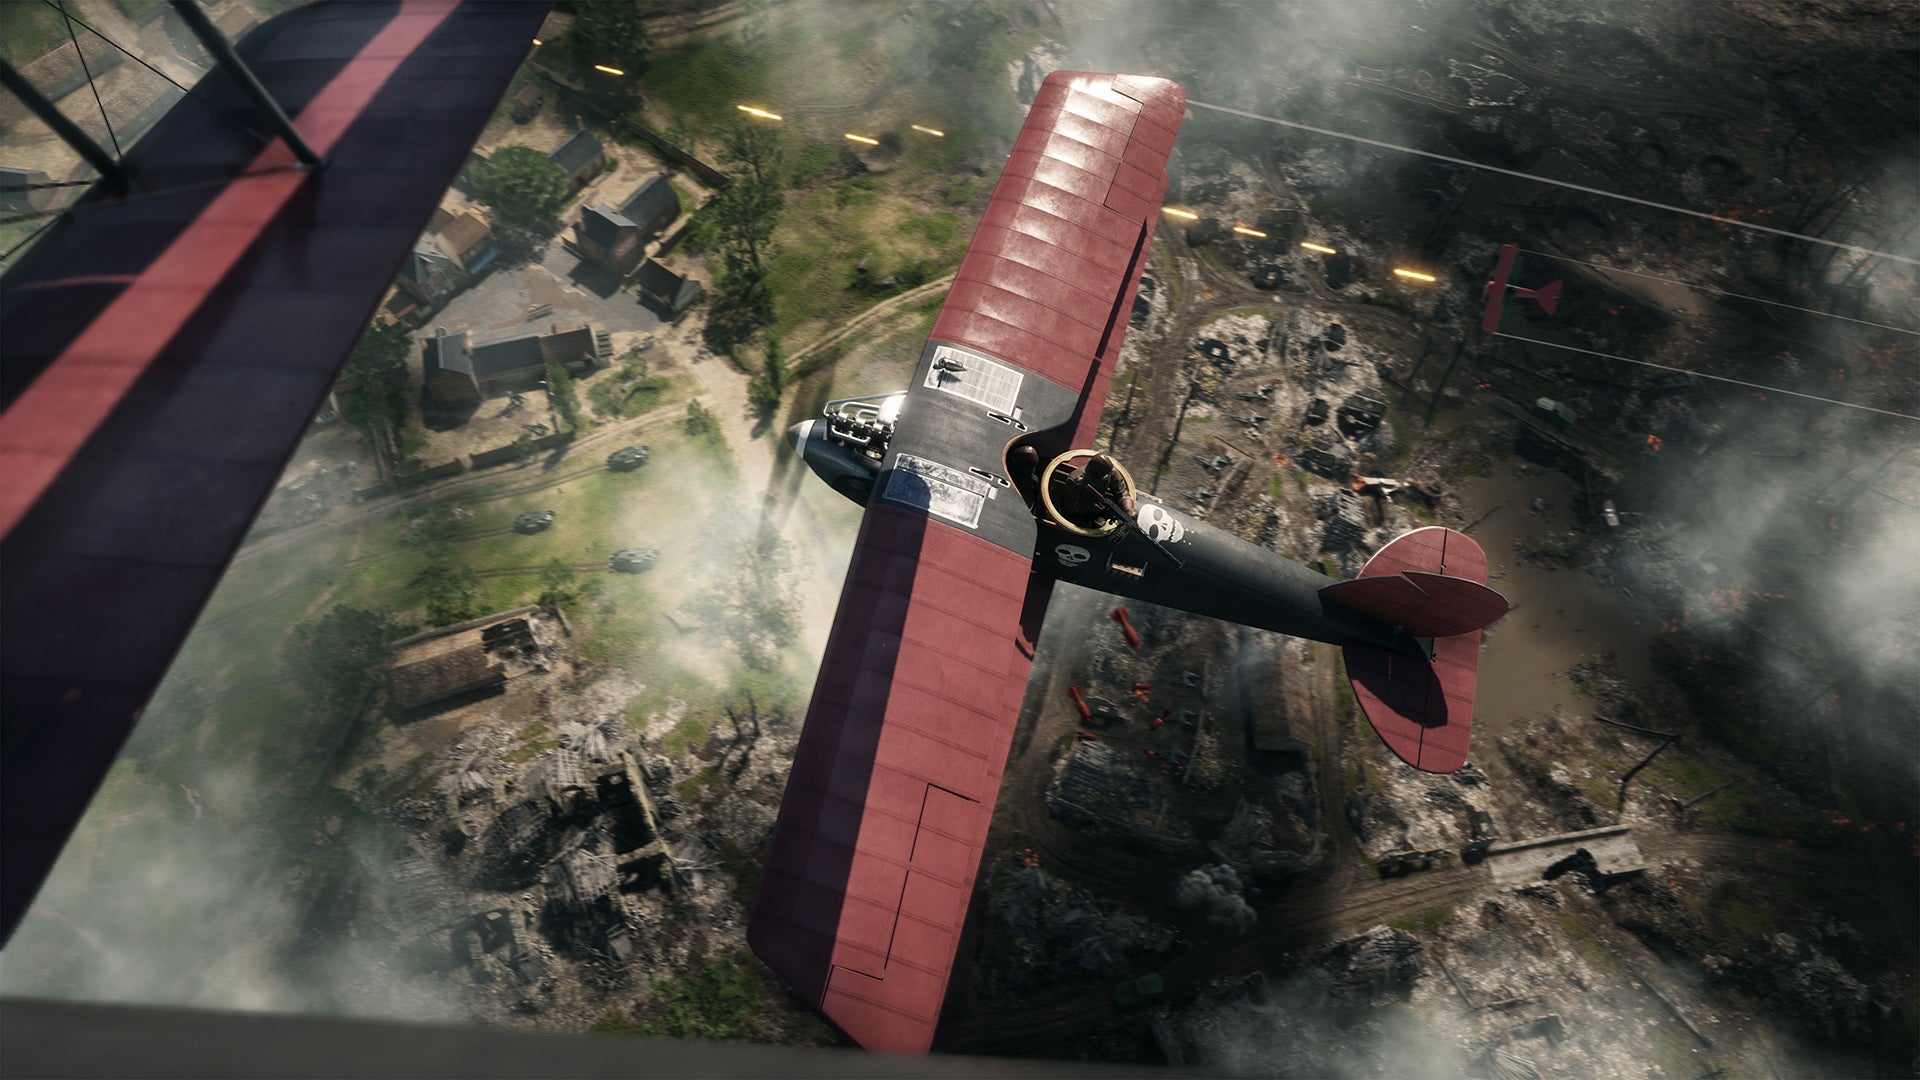
Location: French countryside Game Modes: Conquest, Rush, Domination, TDM, War Pigeons and Operations Players: Up to 64 Vehicles: All tanks; Cavalry; Aircraft Behemoth: Airship L30 Elite Classes: Flame Trooper, more TBC Description: A central village, surrounded by muddy trenches, fields, and occasional farmhouses. The town’s destructible windmill, on a small hill, is often the focal point of both attacks and defenses.
St. Quentin Scar map tips:
Hold the windmill - On Rush, the town’s central Windmill can withstand an enormous amount of pressure with the right defense. Set up with a Flame Trooper, or Support class, combined with a Medic or two, lying down on the bottom floor of the windmill holding the door. One or two Scouts on the top of the windmill as well will mean it’s almost impenetrabke from the outside, thanks to its excellent vantage point, with just one squad to hold it.
Sinai Desert
Location: North African desert Game Modes: Conquest, Rush, Domination, TDM, War Pigeons and Operations Players: Up to 64 Vehicles: All tanks; Cavalry; Aircraft Behemoth: Armored Train Elite Classes: Flame Trooper; Sentry; Tank Buster Description: An open, expansive desert houses on remote capture point/base on one side, whilst the main battle occurs along a cliff face at the other edge of the map, where large rock formations house snipers. A small village area is home to most of the close-quarters combat.
Sinai Desert map tips:
The large desert dunes are perfect for flanking - whilst you can be hugely vulnerable to snipers looking in the right direction, the desert’s rolling dunes are also excellent cover from enemy line of sight in the main built-up area. You can easily get from one end of the map to the other here, and a coordinated squad can do huge damage to enemy defenses if it makes it round intact.
Amiens
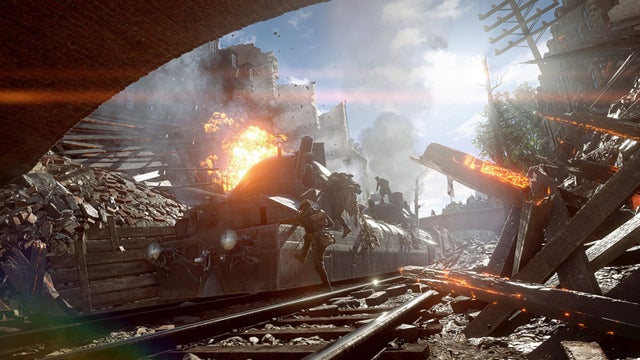
Location: French town centre Game Modes: Conquest, Rush, Domination, TDM, War Pigeons and Operations Players: Up to 64 Vehicles: All vehicles; Aircraft Behemoth: Armored Train Elite Classes: Flame Trooper, more TBC Description: Entirely made up of city-centre buildings, so mostly close to medium-quarters combat. A central train line runs under two bridges, with one in particular - that has vantage point buildings on either side - often a focal point for the battle. x
Amiens map tips:
Use vehicles to break choke points like the bridges - This point goes for most maps, but Amiens in particular can be ‘brute forced’ with a combined vehicle and infantry push. Tentative tanks are worthless here: get onto that bridge and die for your team! The following soldiers should do the rest. If you find a choke point, flank it - There’s no reason to get bogged down in choke points here, as the town’s narrow streets and alleyways will always have a secondary bypass nearby. Keep looking for secondary routes at all times, but remember to take your squad with you, or even a well-timed flank will just see you picked off when alone. Stay off the train tracks - Not just good life advice in general, playing on the tracks on Amiens is a death sentence in Battlefield 1, too. You’re exposed here from every angle, but have restricted line of sight yourself. Save trips across the tracks to extreme situations, like an emergency flank around to the enemy’s back point.
Suez
Location: Suez Canal, Egypt Game Modes: Conquest, Rush, Domination, TDM, War Pigeons and Operations Players: Up to 64 Vehicles: All tanks; Cavalry Behemoth: Armored Train Elite Classes: TBC Description: A long, narrow map with a canal running on one side and desert dunes on the other, whilst a small settlement of desert buildings runs down the centre. Mostly close-quarters combat in that built-up area.
Suez map tips:
One dune is the perfect wall for sniping and flanking - Along one side of Suez is a sand dune which stretches almost the entire length of the map. It’s exactly the cover you need for a flank to an enemy’s otherwise inacessible rear point for capturing, and also excellent cover for snipers who want a wide view of the whole battlefield.
For more tips on Battlefield 1, check out our main Battlefield 1 Guide, tips and tricks hub; our Battlefield 1 maps breakdown, our complete list of Battlefield 1 weapons stats, unlocks and War Bonds advice, and Codex Entries; how to get the tiny gun Kolibri; how to get Battlepacks, Scrap and Puzzle pieces; and class guides for the Battlefield 1 Elite Classes, Medic class, Support class, Scout class, and specialist Pilot, Tanker and Cavalry classes, too. Fao Fortress
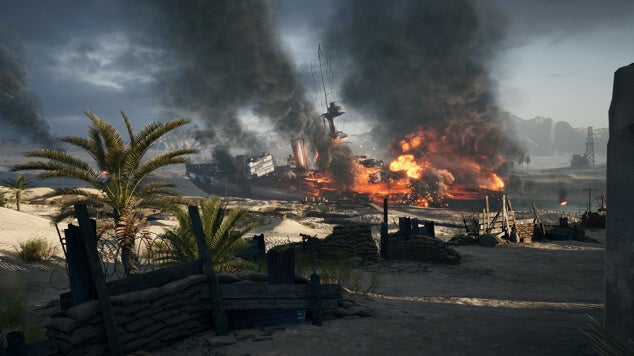
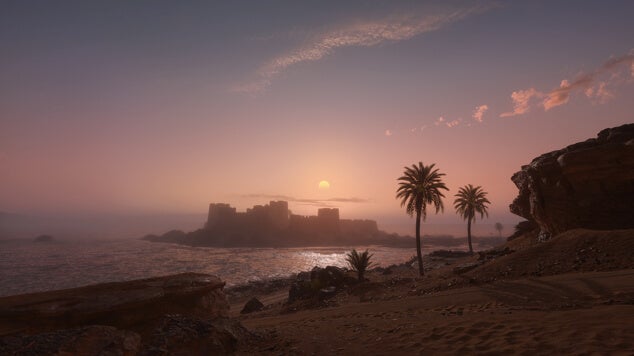
Location: North African coast Game Modes: Conquest, Rush, Domination, TDM, War Pigeons and Operations Players: Up to 64 Vehicles: All tanks; Cavalry; Aircraft; Boats Behemoth: Dreadnought Elite Classes: TBC Description: A huge castle at one end houses snipers and AT guns, whilst the rest of the map is made up of desert dunes, shallow rivers, and hilly, rocky outcrops for cover. Flanked by water on one side.
Fao Fortress map tips:
The uppermost castle tower grants impervious protection for your own troops - whilst the bulk of your team’s players will que up along the crenellations to fire AT guns and aimlessly snipe at distant enemies, they’re also hugely exposed to a flank. If you can predict them being overwhelmed, the highest tower of the castle has a perfect view down to that platform of AT guns, with arrowslits (an ingenious medieval type of castle window) give you plenty of protection at the same time. Avoid the water like the plague - Not only does it leave you blatently exposed, the central river on Fao Fortress also slows you down considerably, making it easy for enemies to pick you off from any angle. If you’re trying to cross the map, head high and wide, or storm it with a huge rush of infantry, cavalry, or vehicles.
